
Video - How to use panning with Halloween toy photography

A quick guide on how you can make a wicked witch fly via the art of toy photos
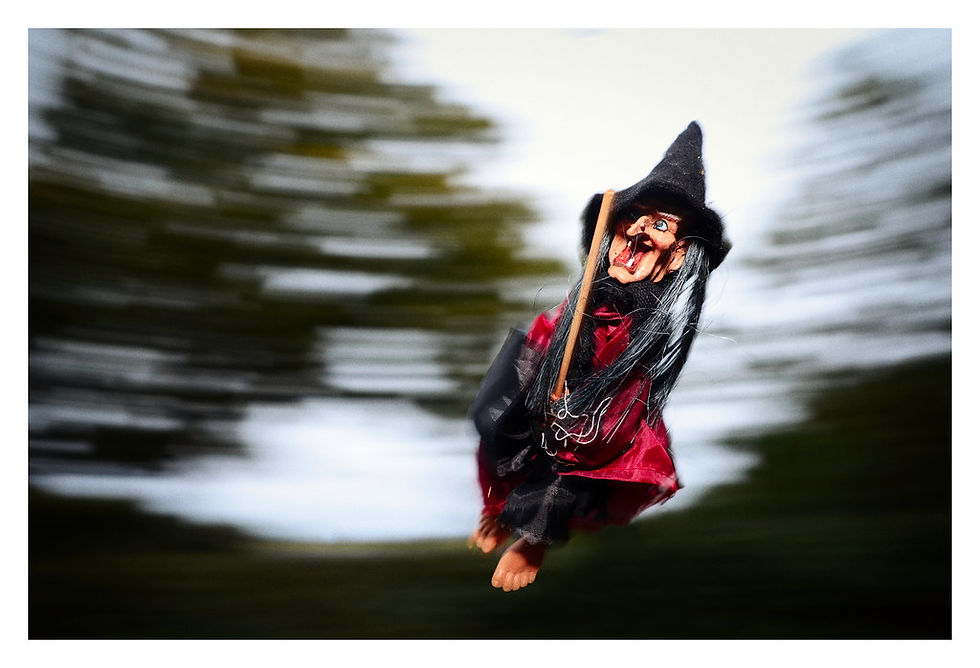
Ever tried the panning technique in your photography? It's a cool trick often used in sports or street photos. Imagine a car or bike zooming past with a blurred background and you'll get the picture! You can totally use this method in toy photography as well.
Watch the video above to see how you can make a super spooky photo just in time for Halloween. With the shops stocked full of all sorts of creepy decorations, you've got tons of options to choose a character for your toy photography.
How to create panning photos
To get some awesome panning shots, set your camera to a slower shutter speed, like between 1/15 and 1/60 second. Then, just follow your subject with the camera as it moves by and start snapping. The goal is to blur the background while keeping the moving object in focus.
How to use the panning technique with toy photography
If you want to make it look like a toy is flying in front of your camera, grab a wide-angle lens—something like 10mm should work. Attach your toy to a stick so you can hold it in front of you. Then, just spin around on the spot while taking pictures.
After you're done, you'll need to edit out the stick in post-production.
Think about where you’re shooting. Trees can be a cool backdrop, and city lights work well too.
How the photos turned out
Here are the spooky results.

Like what you see?
How did you like this guide on creating an awesome toy photography scene for Halloween? Check out this website for more cool examples of still life images.
Interested in collaborating? Shoot me a message for a casual chat. You never know, it might turn into something great.

Comments